5 Easy ways to clean up after a home renovation project
Home renovations make for exciting opportunities to give rooms or the entire house a new look and feel. But before you get too eager to claim your happy place, there’s a ton of rubbish, dust and dirt that you need to get rid of. While cleaning may be a daunting task, there’s one or two hacks (okay, maybe more) you can use to keep your renovated space spotless and ready for moving in.
- Big debris, small rubbish
It’s great to start big when it comes to cleaning up - big in the sense that the first thing you want to clear is massive debris, so that you have the necessary elbow space for some deep cleaning. Once huge debris is removed, you can pack it into in special bags and check out this site to hire the cheapest and most efficient renovation scrap haulers in Sydney.
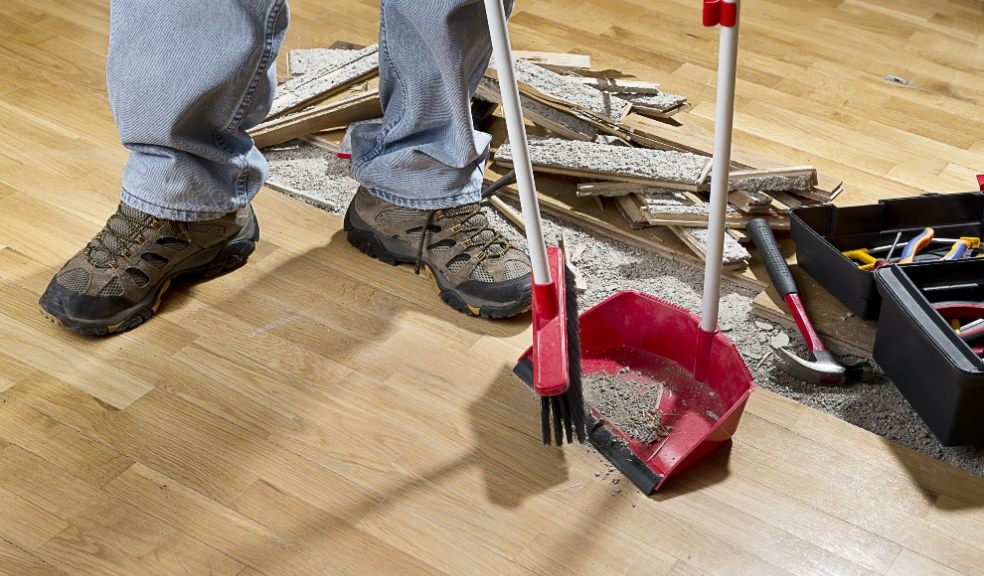
Smaller clutter comes next. You can use a broom to sweep this away, and fit it into regular trash bins. Garbage collectors will be more than happy to take it off your hands.
- Vacuum Power
A Vacuum is after-renovation clean up at its best. Use it to clean the floor, get into the corner, and places you don’t normally bother with, as dust can accumulate in these areas during renovation. It’s also good to vacuum under the furniture, to cover all your bases. Follow up with a quick mop and your floor will be as good as new.
- Wipe on, wipe off
Wipe every surface that was exposed to dust, such as the walls, kitchen cabinets, flat surfaces, shelves and other hard surfaces. If you kept the old paint on your wall, you can use a clean damp cloth to remove dust and dirt. You need to be extra careful with cleaning a newly painted wall, though, as it might affect it. It is best to know what type of paint was used before wiping it clean, and if you’re unsure, dry-dusting is the safest option. You should also wipe moldings that may have dust, and then work on wiping cabinets and all other surfaces. Furniture needs to have dust wiped away as well, even if they were covered by plastic during the renovation.
- Clean filters and vent
Air quality is the next thing to take care of, since it may have harmful odors and chemicals; these could pose dangers to your family, especially to those with respiratory illnesses such as asthma. You should make sure that it’s safe for anyone who may use the new space in the future also, so go ahead and check your air vents for dust particles. You can wash the vents in warm, soapy water.
You might also need to check whether or not the air filter has been removed by painters. Often, they forget to put them back up. Make sure that the filter is up to date, and if it isn’t then put a new one on your shopping list.
- More cleaning
There’s probably more dust or dirt than the eye can see, and it can hide inside cabinets and wardrobes as well. For this part, you’ll need more than a damp rag, as you’ll likely need to use a variety of cleaning products for the many different areas and fixtures. Try to use eco-friendly cleaning products, to make sure it is safe for kids and family members with allergies. Plus, you it’s a small contribution to preserving the environment every time you use biodegradable cleaning agents
Cleaning goes beyond exteriors and surfaces, as you also need to dust the insides of cabinets and wardrobes, and to remove whatever is inside. Make sure that everything is dust-free before putting it back into storage. While you’re at it, you can also disinfect doorknobs and handles, or even clean sills and frames.
Make sure that everything is unplugged before you clean the light fixtures and ceiling fans or anything electrical, to ensure your safety. Wipe them down and run a damp cloth over the fan blades to remove dust and dirt that may have settled from all the renovation.
So that does it for our easy list of post-renovation clean-up. Think you can give it a go? Go ahead! Take a full day off, and don some mask and gloves. Get a few hands ready, and kick off some serious cleaning. It may take time and effort, but when everything is sparkling clean, you’ll be glad that you did it.


